How to Design the Perfect Pumpkin Patch on Your ‘Animal Crossing’ Island
Updated Oct. 2 2020, 4:17 p.m. ET

As you’re undoubtedly already aware, pumpkins have officially come to Animal Crossing: New Horizons and yes, it is pretty much the best update ever (no offense, swimming and diving!). Many ACNH players have been dreaming about the ability to farm within the game and now that we finally can, it’s wonderful and amazing.
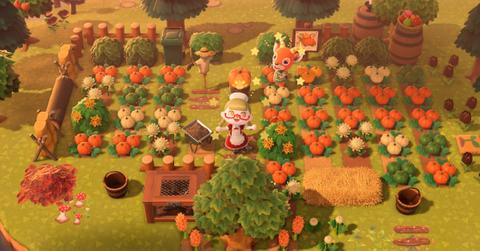
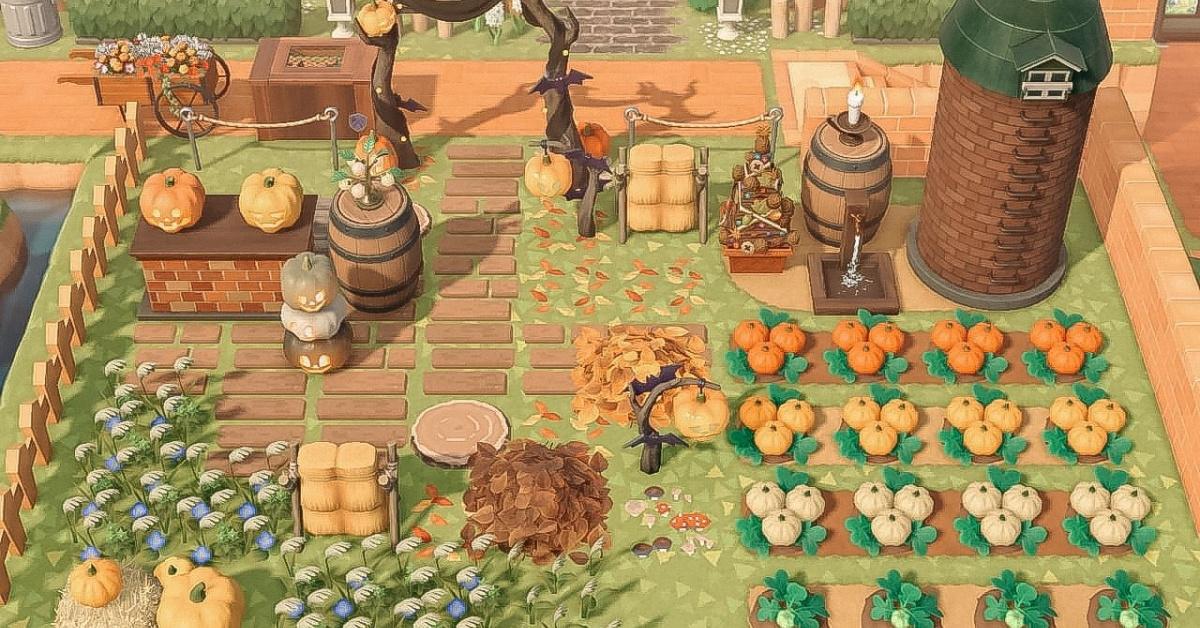
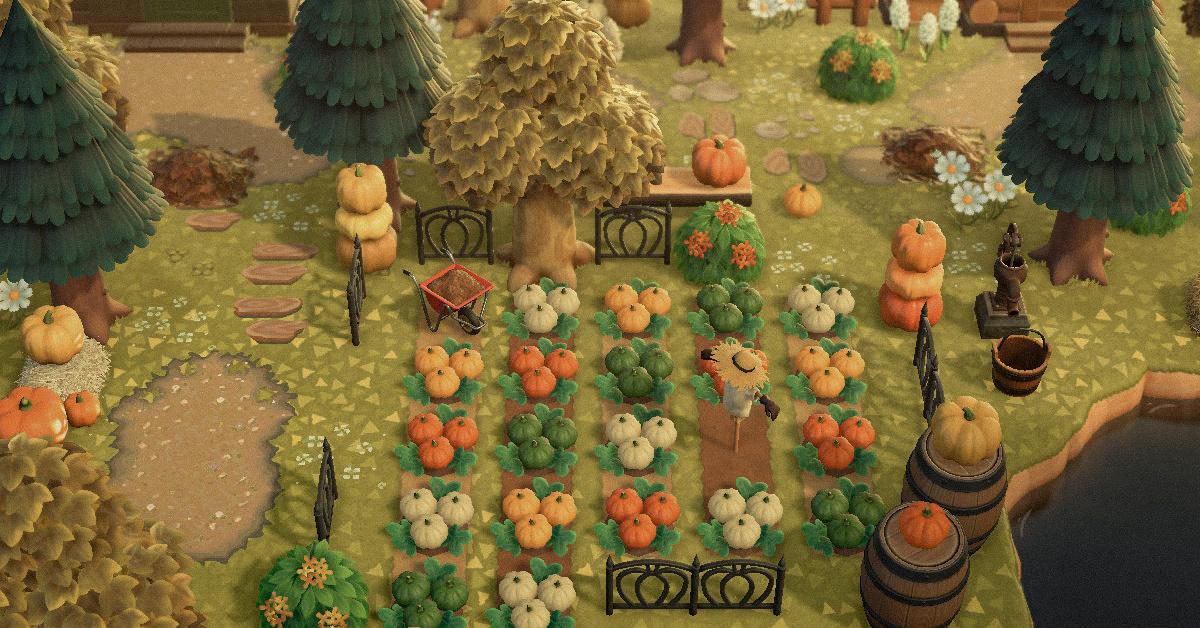
Obviously, since you can now plant pumpkins and grow them like a real-life pumpkin farmer (albeit only in the month of October, unfortunately), people have started creating and sharing the most incredible pumpkin patch ideas online. Here are some of the most inspiring ones we’ve seen.

‘ACNH’ players are sharing all the best pumpkin patch ideas online.
There are a few elements that all of our favorite Animal Crossing pumpkin patches have in common. First, some dirt! Technically, you could just dig a hole in the grass on your island, plant a pumpkin, and call it a patch. But this game is largely about the *~*aesthetic*~*, so the more realistic your pumpkin patch, the better.
Assuming you’ve already unlocked the terraforming tools, use the path tool to “paint” either the dark or light soil pathway in your pumpkin patch. Easy!
As far as other pumpkin patch decor is concerned, one super easy (and basically free) thing you can do is dig up some orange and/or red flowers from elsewhere on your island and plant them around your patch to heighten the autumnal vibes. If you feel like getting crafty, you can add some hay bales, leaf piles, and barrels to the scene, and you can’t go wrong with a Scarecrow. The Stall is also a great item to add — customize the awning with a plaid pattern from Sable or your own Fall-y design!

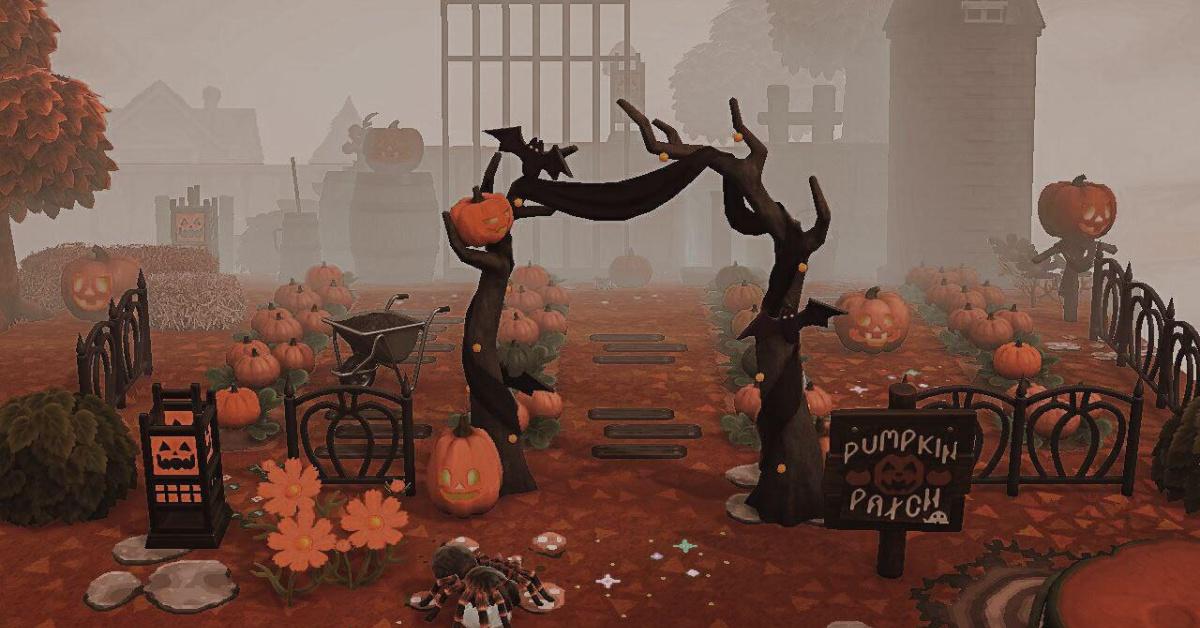
You can add a fence around your pumpkin patch, too. You might consider starting with a rustic-looking fence, but once you unlock the Spooky Fence DIY (pictured above), that’s another great option.
As a matter of fact, most of the Spooky DIY items (most of which are also available for purchase at Nook’s Cranny) are great additions to your pumpkin patch.
Ready to start your own pumpkin patch? Here’s how to get your pumpkins!
Starting in the month of October, you can purchase Pumpkin Starts from Nook’s Cranny for 280 Bells apiece (you can also wait and buy them for half price from Leif whenever he visits). Once you buy the start, simply dig a hole (in your pumpkin patch, obvs) and plant the Start.

Each Pumpkin Start has the potential to give you three pumpkins, but you’ll only get the maximum number of pumpkins if you water the Start every day for three days. Pumpkins can be either orange, green, white, or yellow — there’s no way to tell what color you’re going to get until they sprout. You’ll definitely need orange pumpkins if you plan to craft any Spooky DIY items, whereas the green, white, and yellow pumpkins can be used to customize the colors of those items at your DIY bench.
We hope you’re feeling inspired to take your island to the next level during this most spooky of seasons! Have fun and don’t forget about the special event on Halloween night!