How to Make an 'Animal Crossing' Orchard (That Isn’t Infuriating to Harvest)
Updated April 22 2020, 6:31 p.m. ET

As you continue to craft the perfect island in Animal Crossing: New Horizons, you may have discovered that selling fruit (specifically, fruit that is not native to your island) is an easy way to get yourself some extra Bells. Whereas catching fish and bugs is definitely a fun way to spend your island time and make some money, selling fruit is almost entirely passive. All you have to do is shake your trees every few days, pick up the fruit, and bring it to Nook’s Cranny to pocket that sweet cash.
Considering the fact that each piece of foreign fruit will net you a cool 500 Bells, plenty of Animal Crossing players have decided to create sprawling orchards on their islands. If you’re looking to do the same, there are a few things you need to know first. Here’s how to create the best Animal Crossing: New Horizons orchard layout.

‘Animal Crossing: New Horizons’ — orchard layout guide
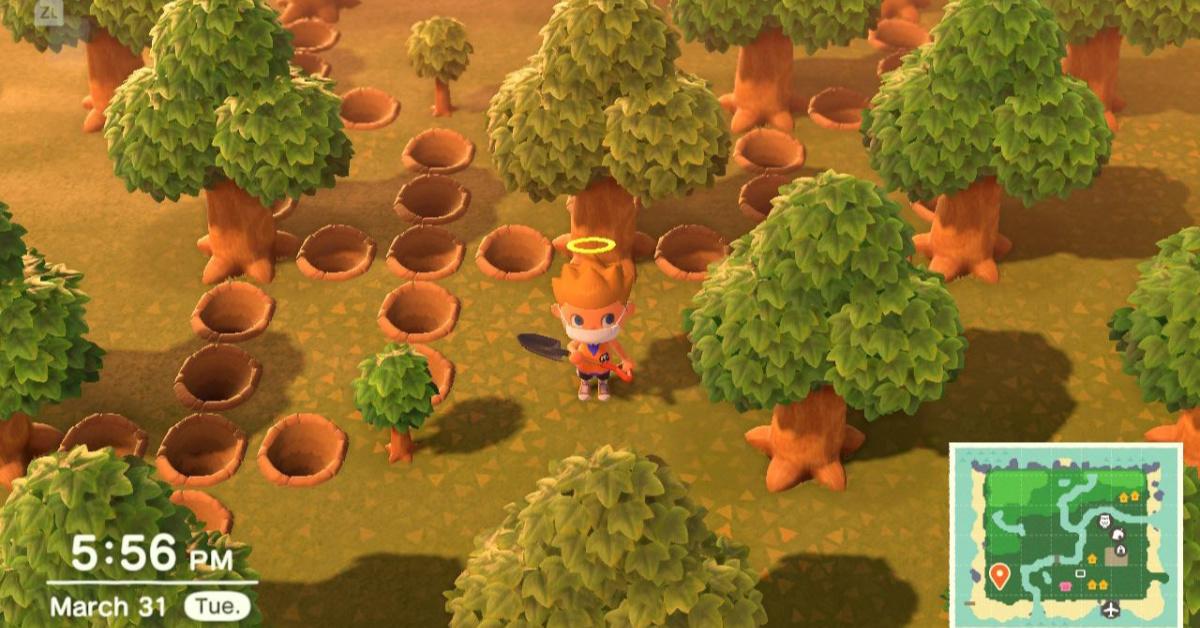
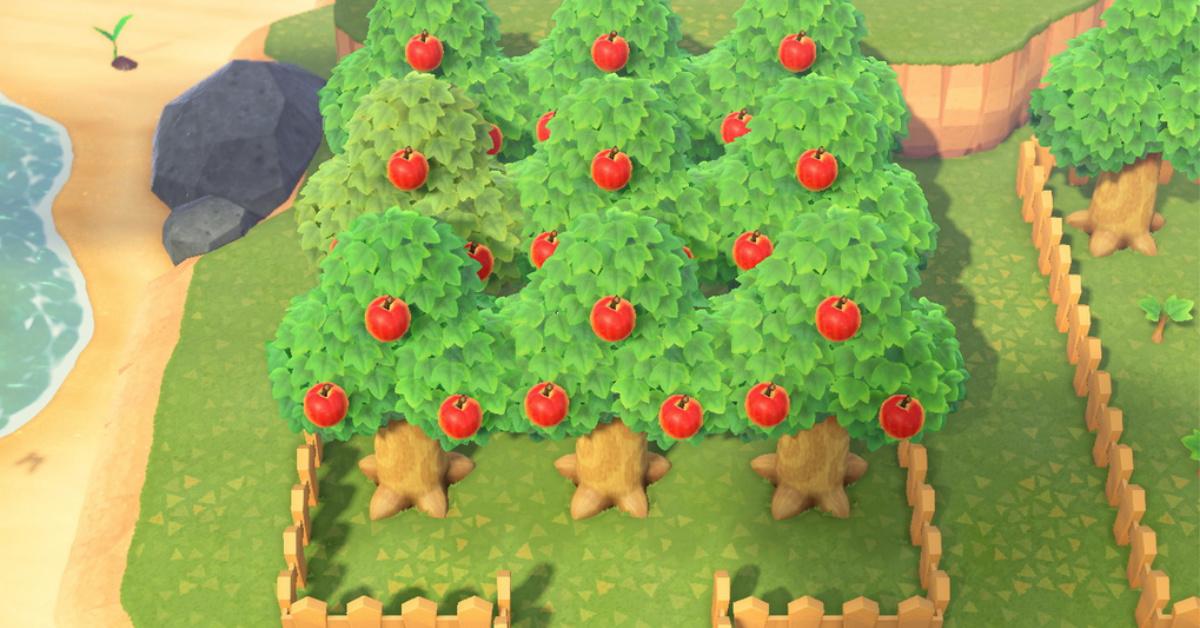
When you first start out, you may be tempted to plant your fruit trees super close together in order to maximize both space and output. There are two big reasons why that’s a pretty bad idea, though. First of all, fruit trees need at least one empty space on every side in order to grow large enough to produce fruit. If they don’t have enough space, they’ll stay saplings forever, and you’ll never be able to harvest them.
Secondly, planting trees super close together (even allowing for the one space on all sides rule) makes it incredibly difficult to actually harvest your fruit. If your orchard is too compact, you’ll spend the majority of your time trying to navigate around your trees and looking for fruit to pick up (which is obstructed by — you guessed it — more trees).

That being said, we’ve found that the optimal orchard layout is to plant fruit trees with at least two spaces between them, going both horizontally and vertically. We’ve found that leaving three spaces between works out great, especially if you stagger the rows.
That looks something like this in a 12x5 grid (with Xs representing trees and Os representing empty spaces):
OOOXOOOXOOOX
OOOOOOOOOOOO
OXOOOXOOOXOO
OOOOOOOOOOOO
OOOXOOOXOOOX
Obviously, that takes up quite a bit of space, so it may not be ideal for all players. However, when you unlock the terraforming tools in the game, you can (somewhat) easily level some of your cliffs to make more orchard-y areas.
If you *do* want your trees to be packed super tightly, you should know this trick.
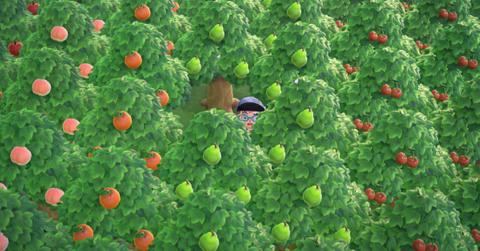
If you really don’t mind fruit harvests taking a while (and you need to make space in your island for your Museum Mountain, or whatever), you should know that it is possible to have full-grown trees produce fruit even if they’re super close to each other.
In order to do that, you first have to plant the fruit with plenty of space so it grows, then dig up the full-grown tree (after eating a fruit!) and replant it in a tighter grid. In other words, once a tree has grown large enough to produce fruit, it won’t stop producing fruit.

Another thing you should know is that if you place fences around your trees (and don’t leave enough space), the fruit you shake down may bounce outside the fence, adding an extra step to your harvest (and just generally being annoying).
Money may not grow on trees, but fruit does. Now that you’re armed with the best knowledge of orchard layouts for Animal Crossing: New Horizons, get out there and make some Bells!